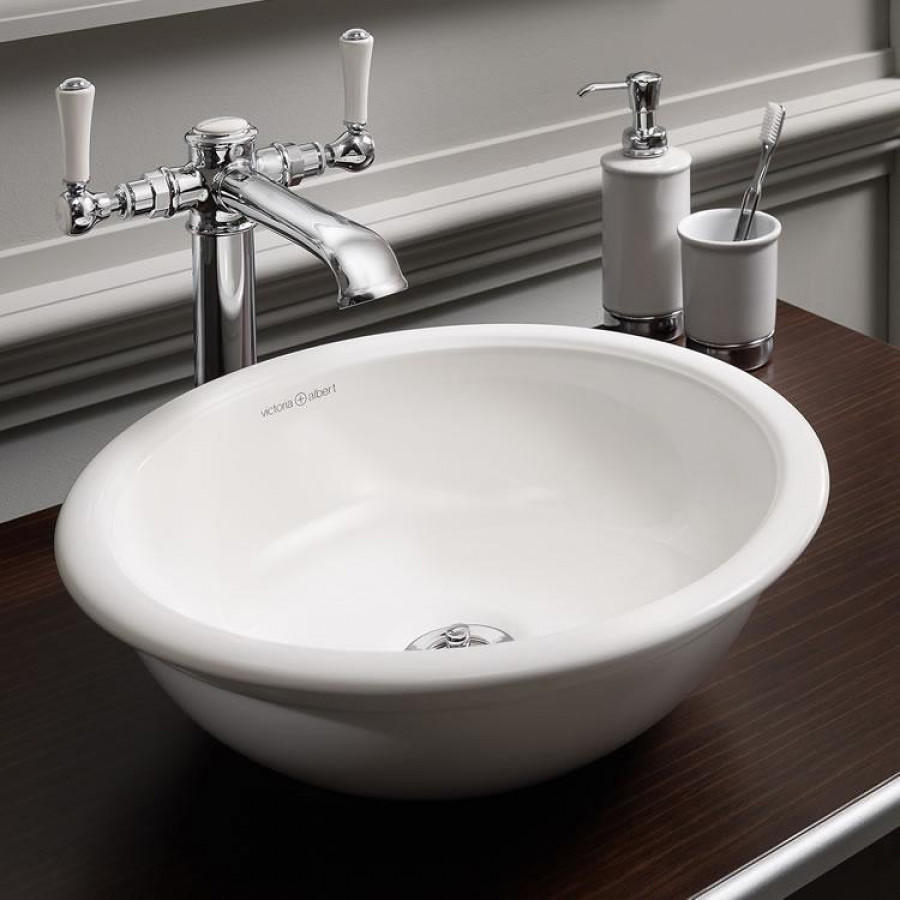
How to install a new sink
You’ve just bought the perfect new sink to compliment your bathroom design plans.
But how do you fit it?
Many DIYers wouldn’t feel confident enough to think about installing a bathroom sink themselves and would find a qualified plumber to do the job.
But if you’ve got the skills and the inclination, this handy guide will help you fit a sink in no time.
Remember, if you’re not feeling confident about sink installation, then it’s best to get a professional.
What you’ll need to fit a sink
The sink installation process is likely to take around two to three hours initially.
If you haven’t bought your bathroom sink yet, it’s important to measure up the space available so you know exactly what size and type will be the perfect fit.
Once that’s done, here’s what you’ll need to fit a sink:
-
Adjustable wrench
-
Tape measure
-
Pliers
-
Pencil
-
Sealant
-
Screwdriver set
-
Electric drill
-
Putty knife
-
Small spanner
-
Basin
-
Pedestal
-
Taps
-
Spirit level
-
Bucket/towel
Step 1 Turn off the water supply
Under sink plumbing can sometimes be tricky. Under your existing bathroom sink you’ll find two valves – hot and cold. Close them both completely and test by turning on the sink taps to see if any water escapes.
Step 2 Detach the existing sink
Check your old sink thoroughly - a putty knife around the edges will loosen the sealant and should allow you to loosen it and lift it out.
Disconnect the supply and drain lines from the old taps and unscrew the sink from the drain using the large nut (your wrench will come in handy at this point).
Remove the U-bend at the same time - be aware that a small amount of water may leak from the under sink plumbing, so have a bucket or towel ready.
Step 3 Prepare for the new sink
Remove all the dirt and sealant that has built up on the wall behind the old sink and check that everything is dry.
Step 4 Install the sink
To fit a sink, follow the specific instructions included with your sink and use whatever clips or mounting kit that came with it.
More generally, if you’re installing a porcelain sink that gravity will hold in place, apply silicone sealant around the edges where it comes into contact with the counter surface or pedestal.
Make sure it’s centered correctly and that it’s sealed well. There needs to be a perfect seal so that water can’t leak in around the edges and damage beneath the sink.
Step 5 Connect the drain and water lines
Connect the drain to the hole underneath the sink - your new sink is likely to come with a rubber gasket along with a washer and nut for this purpose. It’s best to use more silicone to support the seal around the under sink plumbing.
Re-connect the U-bend and connect the water lines to the taps on the sink.
Step 6 Install the drain plug and finish
Follow the individual instructions with your new sink to install the drain plug. Again, silicone may help at this point to create a good seal. Double-check all the joins and seals, in particular the drain pipe and U-bend.
Allow at least a day for the sealant to completely dry.
Finally, open the hot and cold valves, turn on the taps and test the water flow and drainage. You’ve just installed a sink!
Whether you're looking for a sink to make a statement or a durable, practical solution, Bathrooms Direct Yorkshire has a huge range of basins and sinks in a wide range of sizes, finish and colour.

